Requirements
- A Windows PC with iTunes installed (ensure it’s the latest version).
- A compatible USB cable to connect your iPad to the PC.
Steps to Back Up Using iTunes
Step 1: Connect Your iPad:
- Use a USB cable to connect your iPad to your Windows PC. If prompted, unlock your iPad and tap “Trust” to allow the computer to access it.
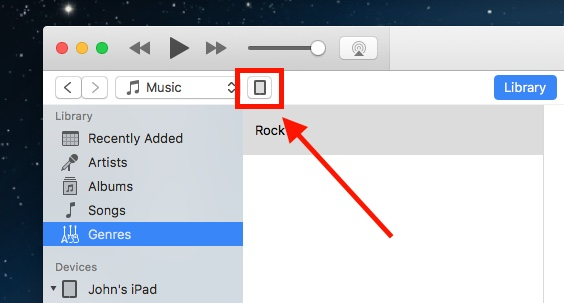
Step 2: Select Your Device on iTunes
- In iTunes, locate and click on the device icon (usually found in the upper left corner of the window).
Step 3: Choose Backup Options
- Click on “Summary” in the sidebar.
- Under the “Backups” section, select “This Computer” to save the backup locally.
- If you wish to encrypt your backup (which is recommended for sensitive data), check the box for “Encrypt iPhone Backup,” set a password, and remember it.
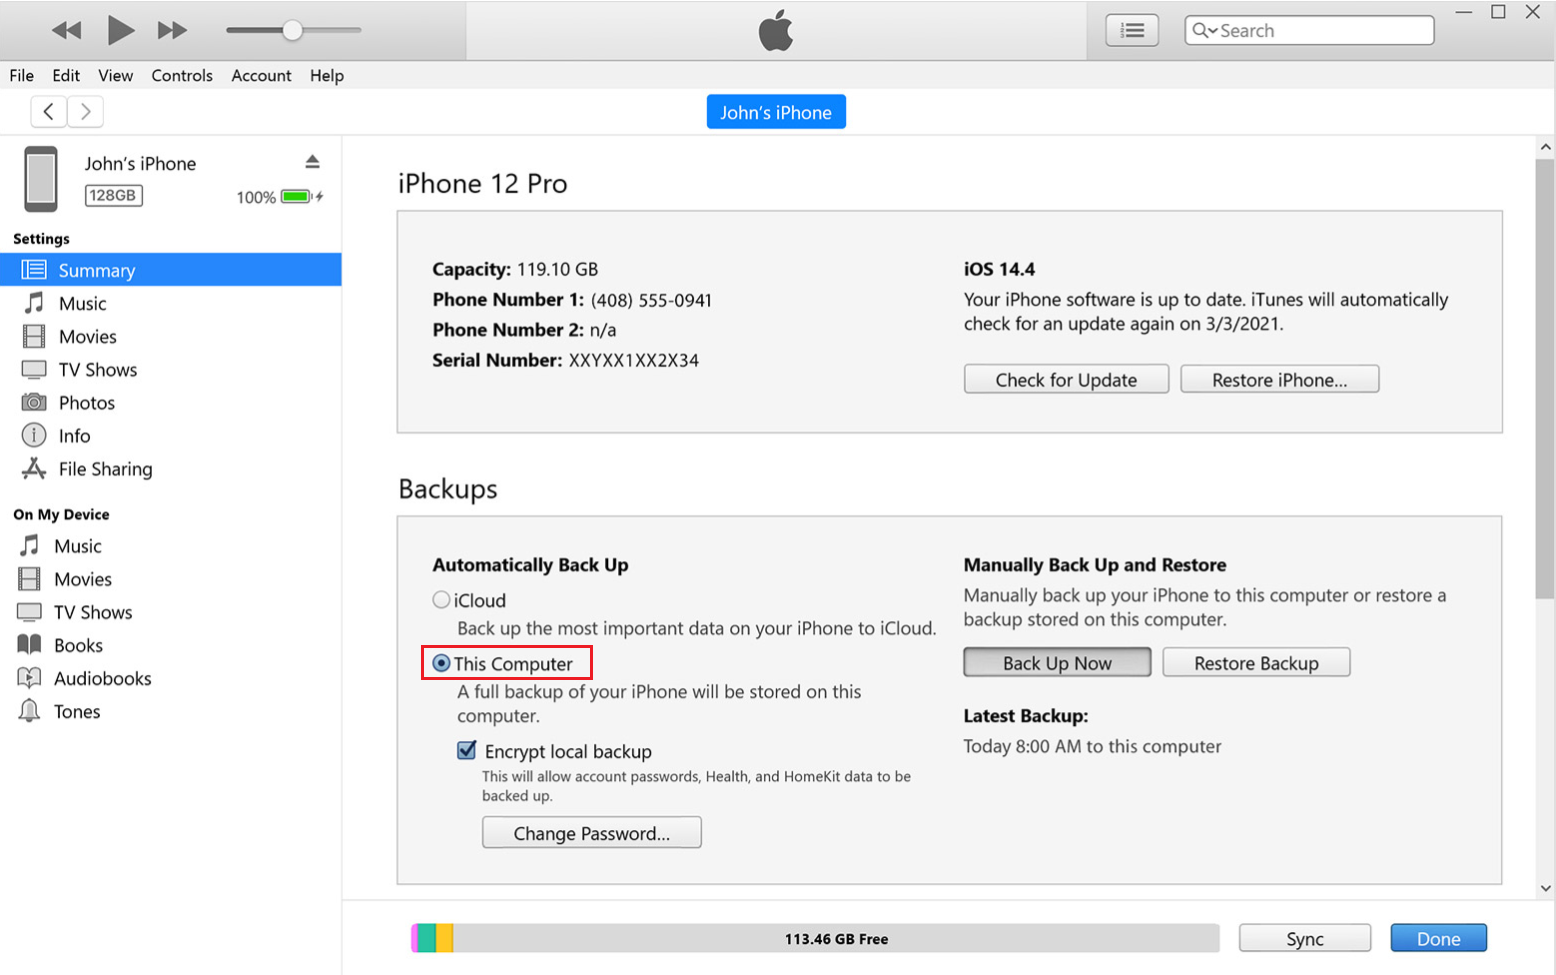
Step 4: Start the Backup
- Click on “Back Up Now” to initiate the backup process. You can monitor the progress in iTunes.
Step 5: Verify Your Backup
- Once completed, you can check your backups by going to “Edit” -> “Preferences” -> “Devices.” Here, you will see a list of backups stored on your computer, including any encrypted backups marked with a lock icon.
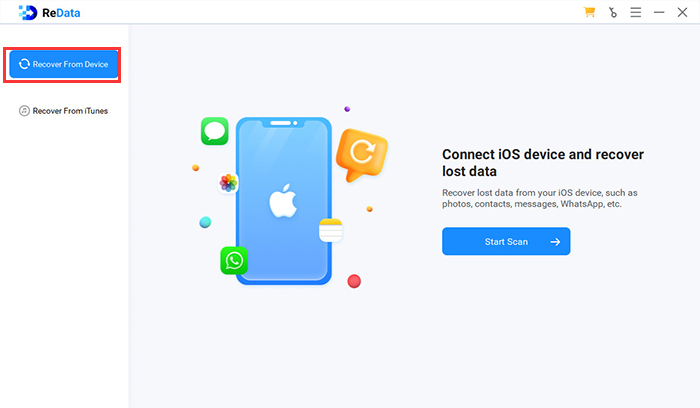
To back up your iPad to a Windows PC without using iTunes, you can use third-party back up software. Here are the steps:
Step 1: Download and install EaseUS MobiMover on your PC.
Step 2: Connect your iPad via USB and launch the software.
Step 3: Select “Backup Manager” > “Back Up,” choose the file types to back up, and start the process.
To back up your iPad to a Mac, you can use several methods, including Finder (for macOS Catalina and later), iTunes (for macOS Mojave and earlier), or third-party applications. Here’s a detailed guide:
Navigate to ~/Library/Application Support/MobileSync/Backup in Finder.
Copy the backup folder and paste it into a folder on your external hard drive.
1. Using Finder (macOS Catalina and Later)
Step 1: Connect Your iPad:- Use a USB cable to connect your iPad to your Mac.
- UOpen a Finder window by clicking the Finder icon in the Dock.
- If prompted, click Trust in the Finder window and on your iPad. Enter your passcode if required.
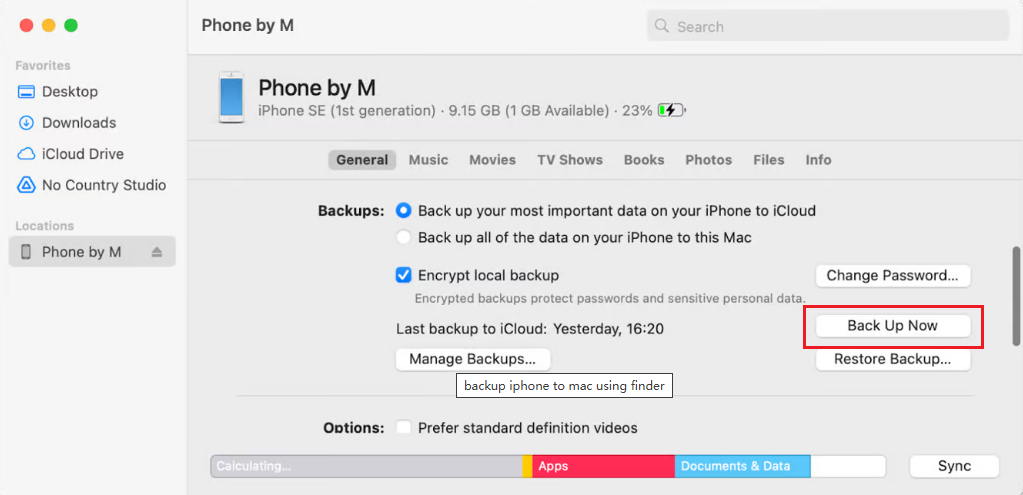
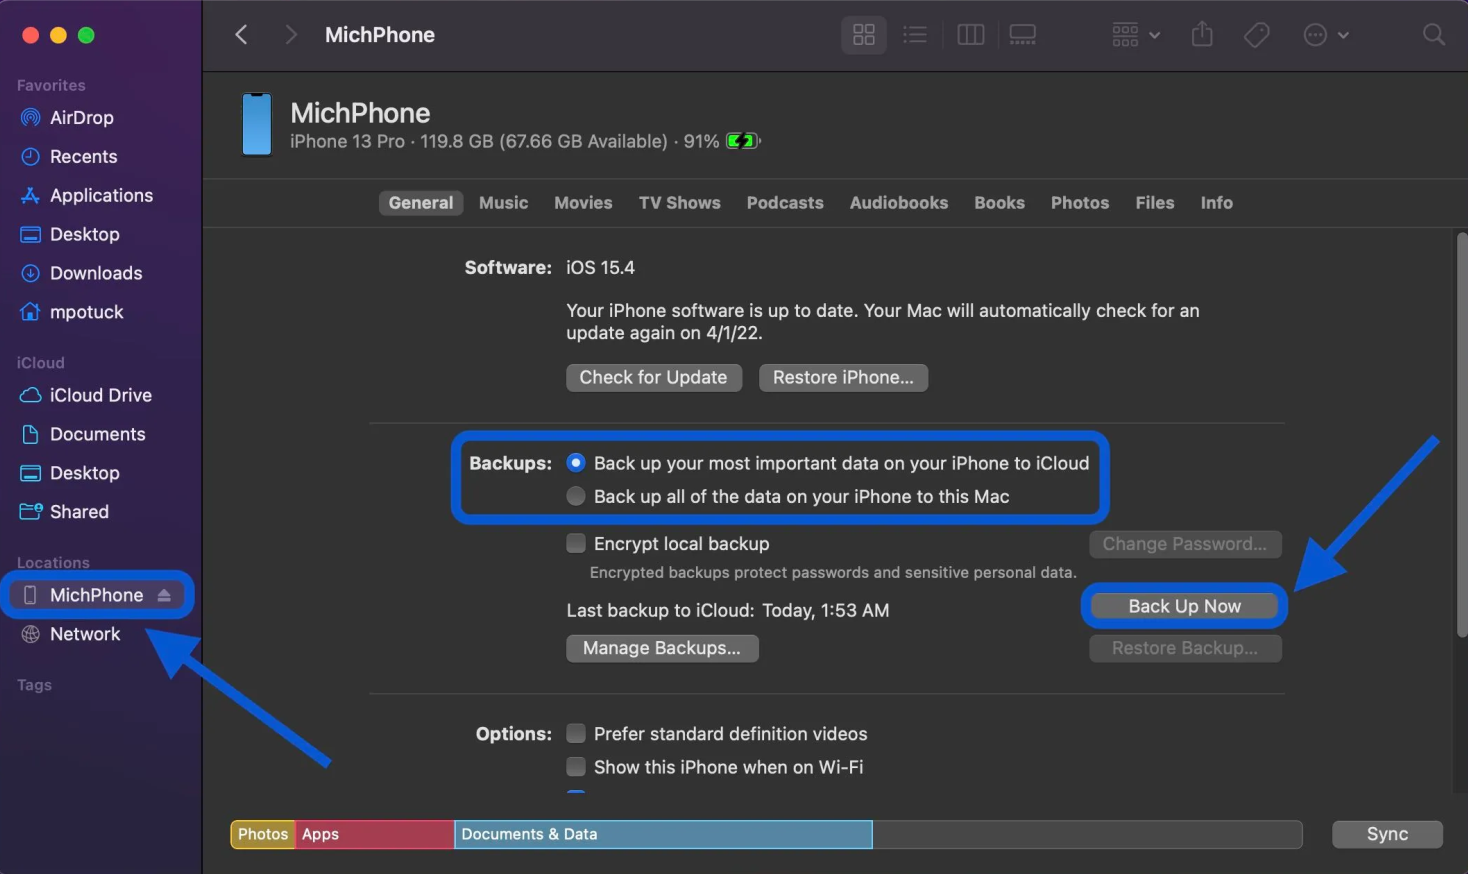
- In the Finder sidebar, click on your iPad’s name.
- In the General tab, select the option to Back up all of the data on your iPad to this Mac. Then in the Finder sidebar, click on your iPad’s name.
- If you want to encrypt your backup for added security, check the box for Encrypt local backup, then set a password and then click on Back Up Now to begin the backup process.
- You can monitor the progress, and once completed, you will see the date and time of the last backup in the General tab.
2. Using iTunes (macOS Mojave and Earlier)
Step 1: Connect Your iPad:- Connect your iPad to your Mac using a USB cable and open iTunes.
- If prompted, click Trust on both your Mac and iPad. Then click on the device icon in the top-left corner of the iTunes window.
- Under Backups, select This computer to save the backup locally.
- To encrypt your backup, check the box for Encrypt iPhone backup, then set a password.
- Click on Back Up Now to start backing up your data.
3. Using External Drive to Backup iPad
Step 1: Connect your iPad and external hard drive to your Mac.
Step 2: Open Finder: Launch Finder and select your iPad from the sidebar.
Step 3: Click on the “General” tab and select “Back up all of the data on your iPad to this Mac.” Click Back Up Now.
Step 4: Transfer Backup to External Drive:
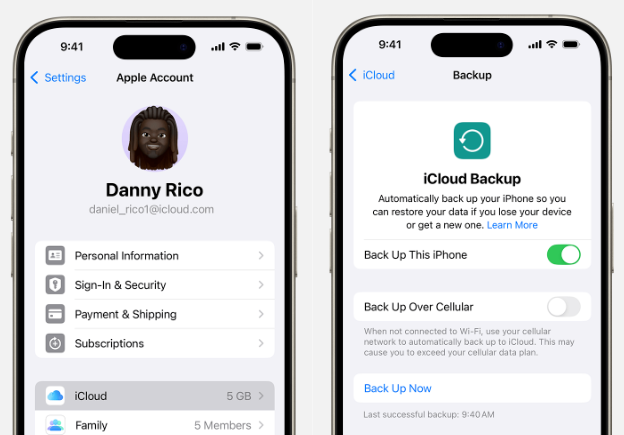
- Step 1. Connect to Wi-Fi: Ensure your iPad is connected to a Wi-Fi network.
- Step 2. Open Settings: Go to Settings > Tap on your Apple ID (your name) at the top.
- Step 3. Select iCloud: Tap on iCloud > iCloud Backup.
- Step 4. Enable Backup: Turn on iCloud Backup (the switch will turn green).
- Step 5. Back Up Now: Tap on Back Up Now and wait for the process to complete.